How to Choose Your Food Trailer: Size, Equipment, Branding & Workflow
Time : 2026-02-12
Meta (EN): A step-by-step guide: size by footfall and menu, equipment by process, brand for readability, and engineer the workflow. With free 3D drafts and Mingtai’s 26 factory tests.
Intro
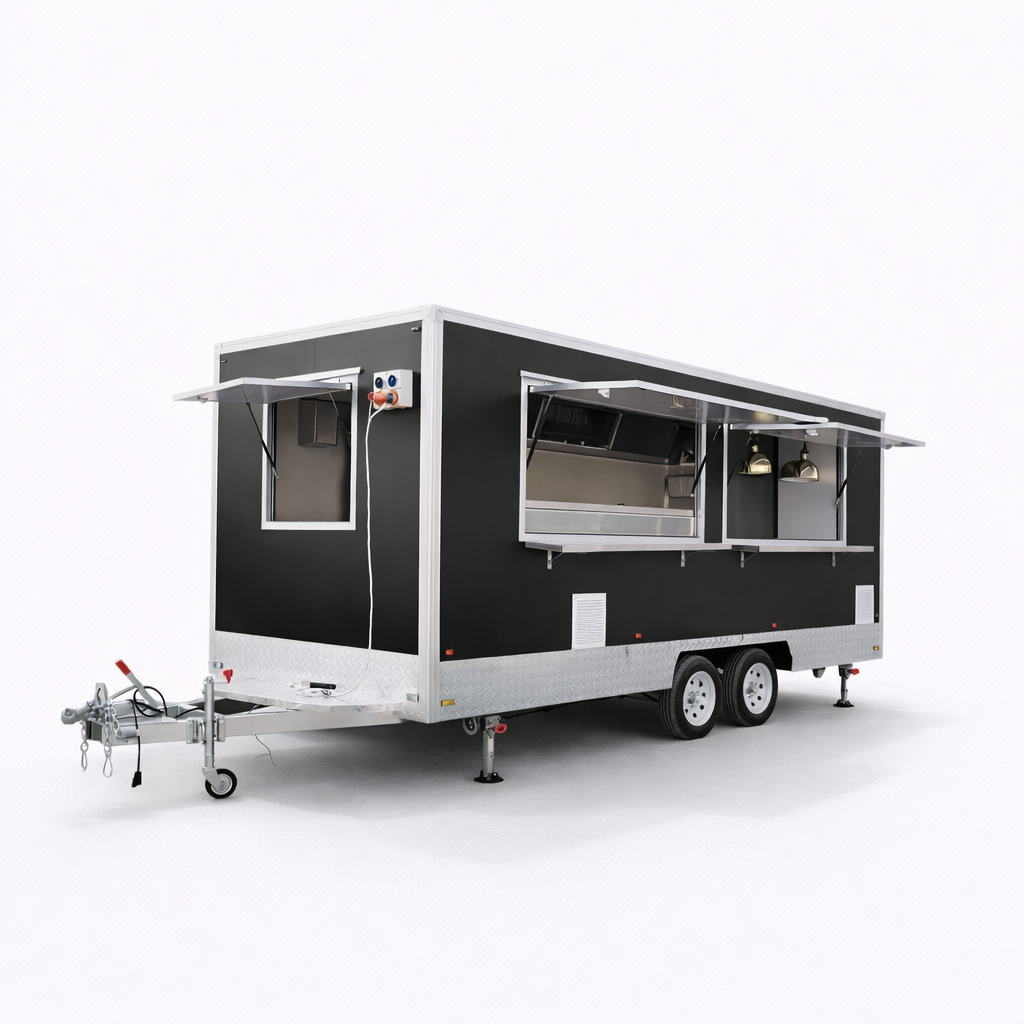
The right food trailer isn’t just a mobile kitchen—it’s a revenue-driving asset that streamlines operations, attracts customers, and maximizes profitability. A poorly designed trailer leads to inefficient workflows, long wait times, and missed sales opportunities, while a thoughtfully customized one pays for itself faster by reducing waste, boosting throughput, and building brand loyalty. The key to getting it right lies in mastering four core levers: size, equipment, branding, and workflow. By aligning each element with your business goals, menu, and target audience, you can create a trailer that works as hard as your team. This guide breaks down how to optimize each lever, plus how Mingtai simplifies the customization process with free design support and rigorous quality testing.
1) Size: Right-Size for Traffic, Menu, and Regulations
Choosing the correct trailer size is the foundation of a functional mobile kitchen—too small, and you’ll face bottlenecks during peak hours; too large, and you’ll waste money on unnecessary space and higher operating costs. Start with three critical factors:
・ Footfall & peaks: Analyze average daily traffic and peak rush hours (e.g., lunchtime downtown, weekend festivals) to determine window count and counter length. A high-traffic location may require two service windows to reduce wait times, while a smaller neighborhood spot can thrive with one. Counter length should accommodate your order-taking and food-handling needs—too short, and crew members will bump into each other; too long, and it creates unnecessary distance between prep and service.
・ Menu type: Your menu directly dictates the space and utilities needed. Fry-heavy menus (e.g., burgers, fries) require larger hoods for ventilation, more refrigeration for oil and ingredients, and higher heat load capacity. Cold food menus (e.g., salads, sandwiches) need less ventilation but more refrigerated storage. Coffee trailers, meanwhile, have compact equipment needs but require dedicated space for grinders, espresso machines, and prep areas. Each menu type also impacts your power budget—hot kitchens need more electrical capacity than cold or beverage-focused setups.
・ City limits: Never overlook local regulations, as length, width, noise, and odour constraints vary by district. Some urban areas restrict trailer length to 4 meters or less, while suburban or festival locations may allow larger units. Noise limits can affect your choice of equipment (e.g., quiet fryers vs. loud grills), and odour regulations may require additional ventilation systems. Always check local codes first to avoid costly redesigns later.
・ Rule of thumb: A 2.5–3 meter trailer works well for light menus (e.g., coffee, snacks) and one-person operations, offering enough space without being cumbersome to tow or park. A 4–5 meter trailer is ideal for hot kitchens (e.g., BBQ, pizza) and two-plus crew, providing room for multiple equipment stations and efficient movement.
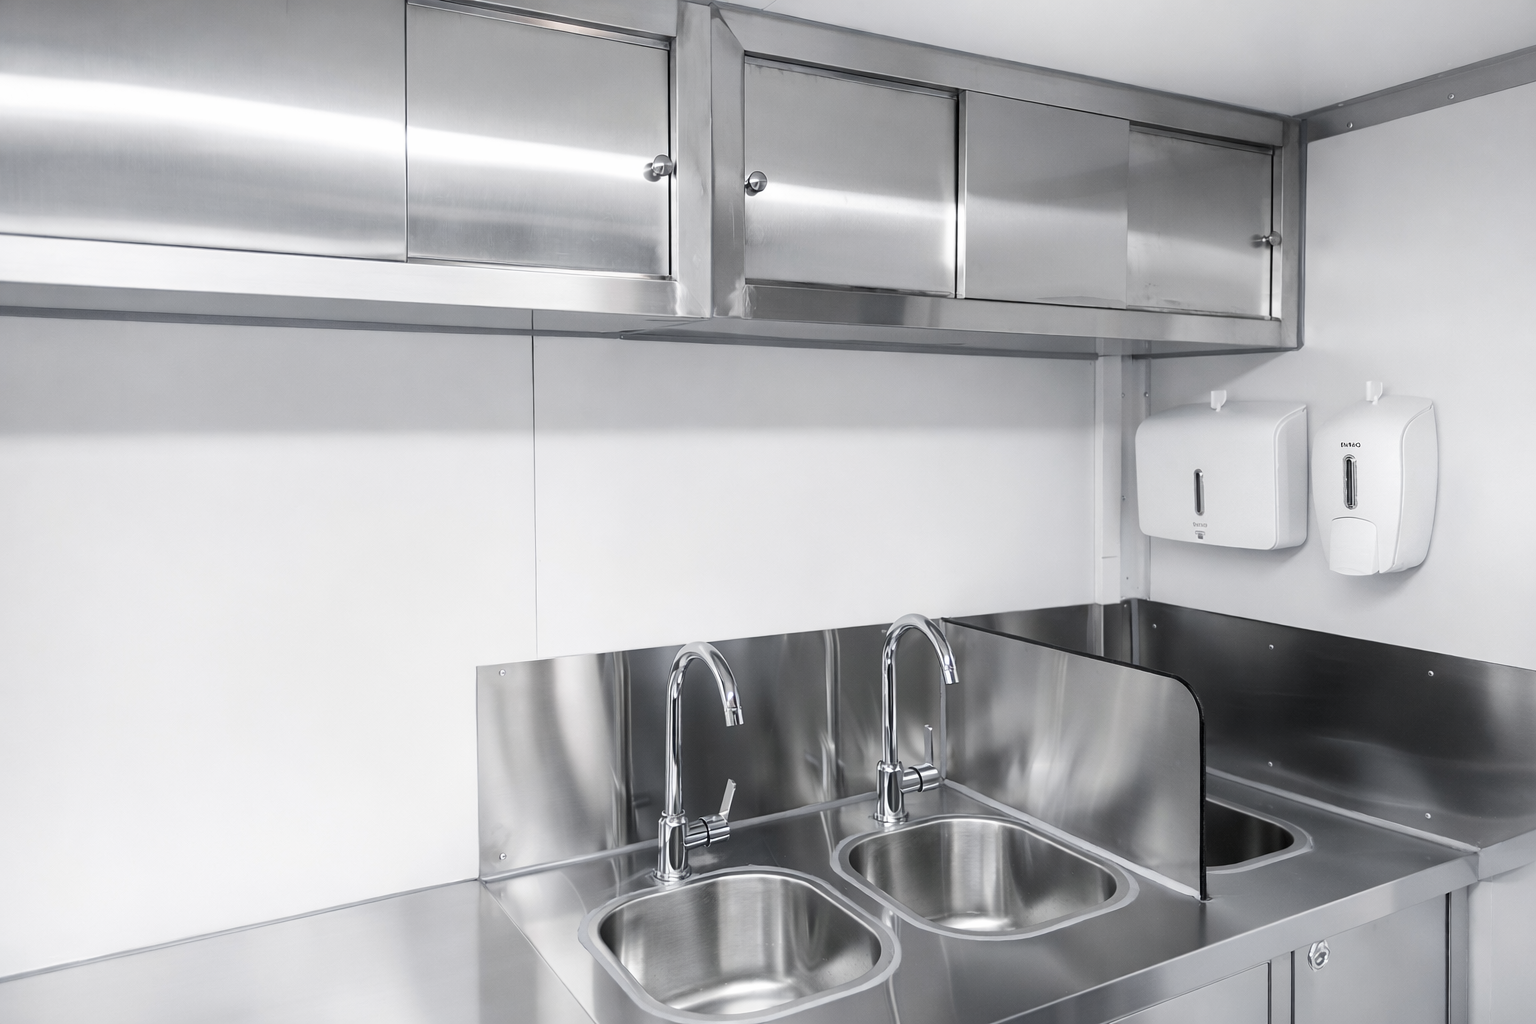
2) Equipment: Prioritize Profit, Efficiency, and Safety
Your equipment layout should revolve around your most profitable items and streamline your cooking process—every piece should serve a purpose and fit seamlessly into your workflow.
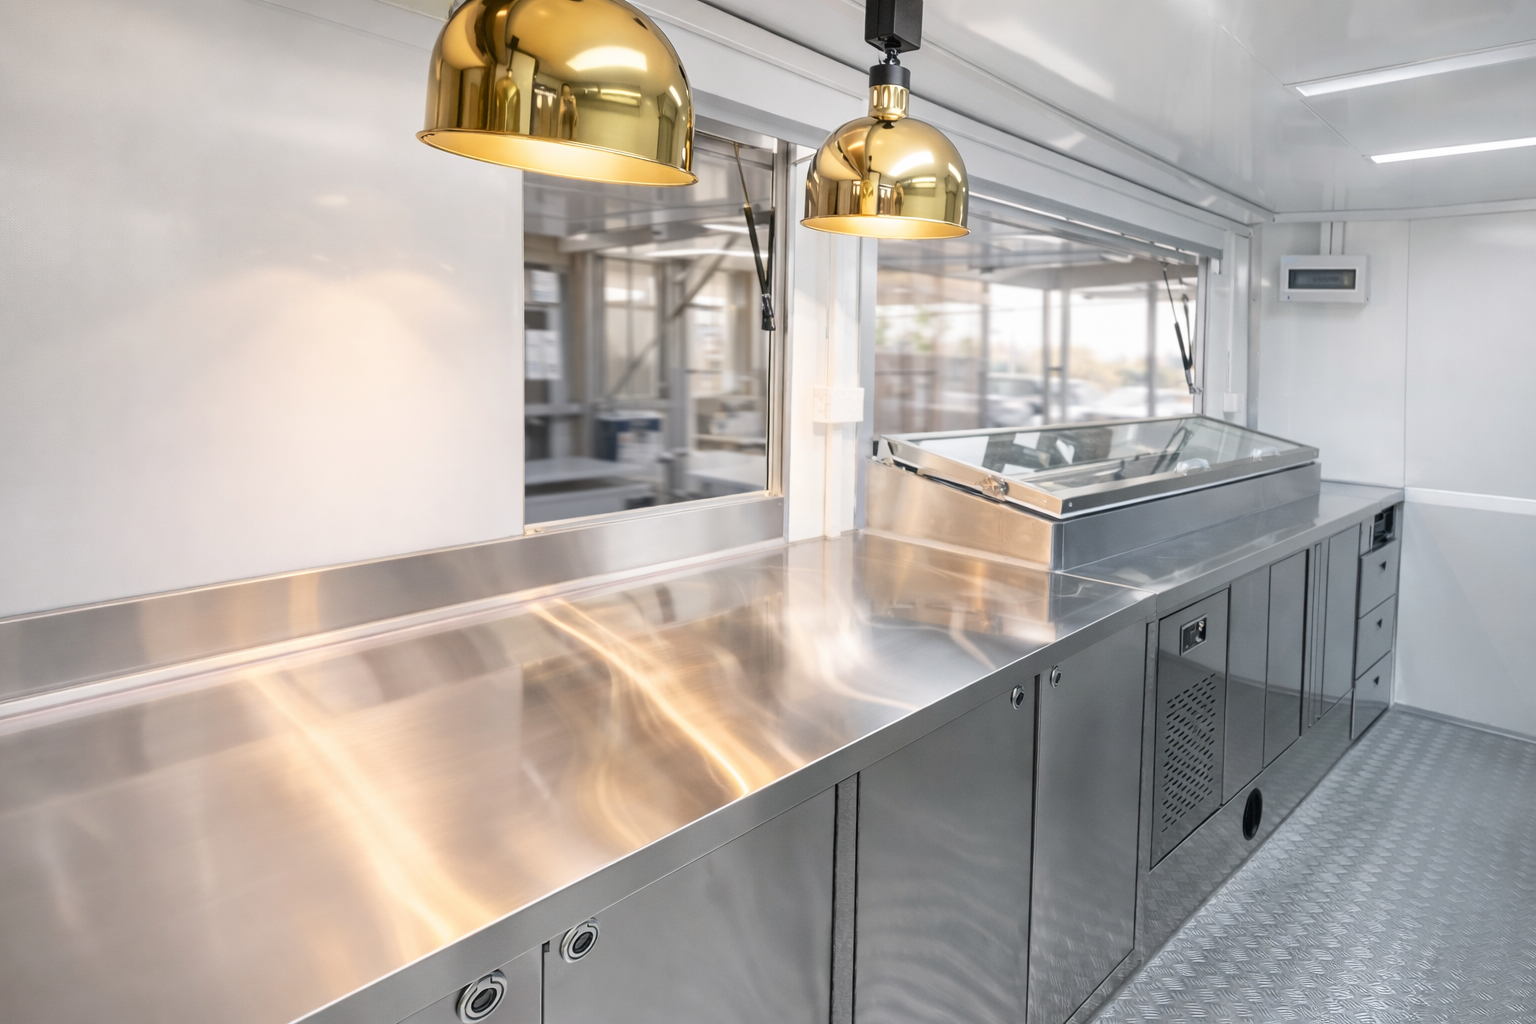
・ Lead with profit items: Place your highest-margin, fastest-moving items (e.g., signature burgers, specialty drinks) at prime positions—within easy reach of both prep staff and the service window. This reduces the time it takes to prepare and serve orders, increasing throughput and customer satisfaction.
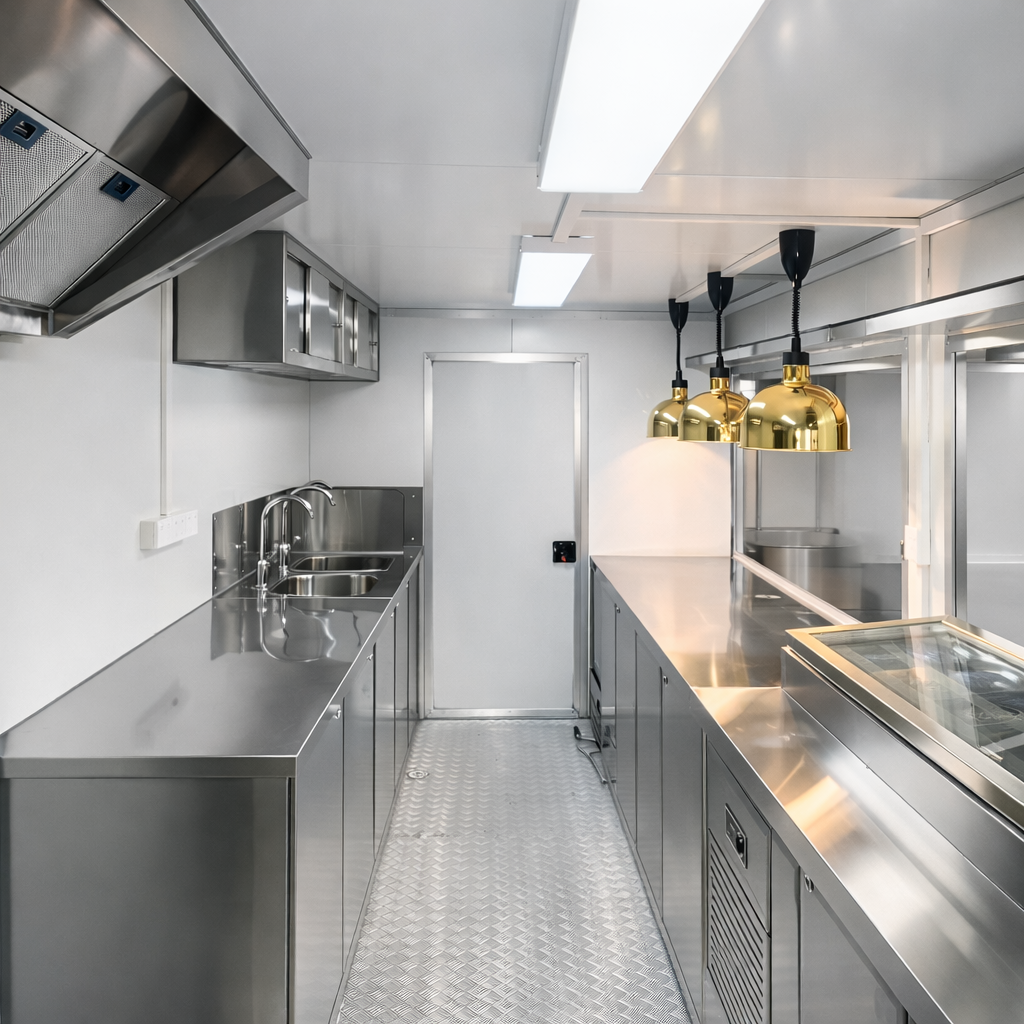
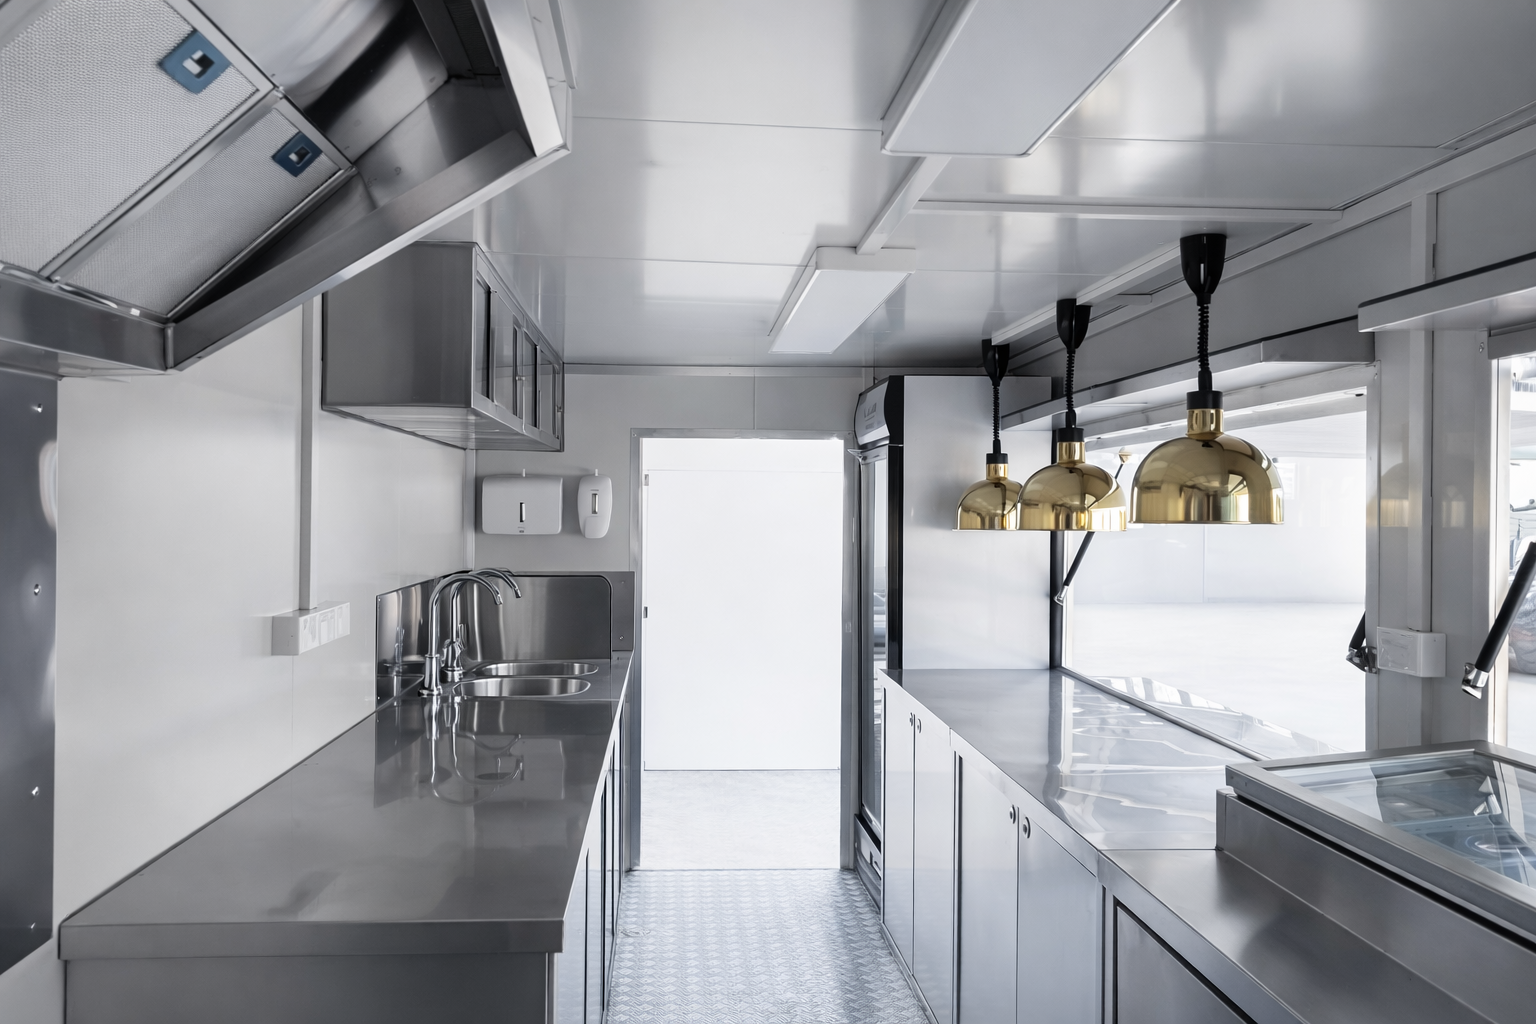
・ Cold→prep→hot: Arrange your equipment in a logical flow—cold storage (refrigerators, freezers) near the prep area, followed by cooking equipment (grills, fryers, ovens). This minimizes backtracking and cross-traffic, keeping your crew efficient. Be sure to size your shore power accordingly—most hot kitchens require 50A shore power or higher to run multiple appliances simultaneously, while lighter setups may work with 30A.
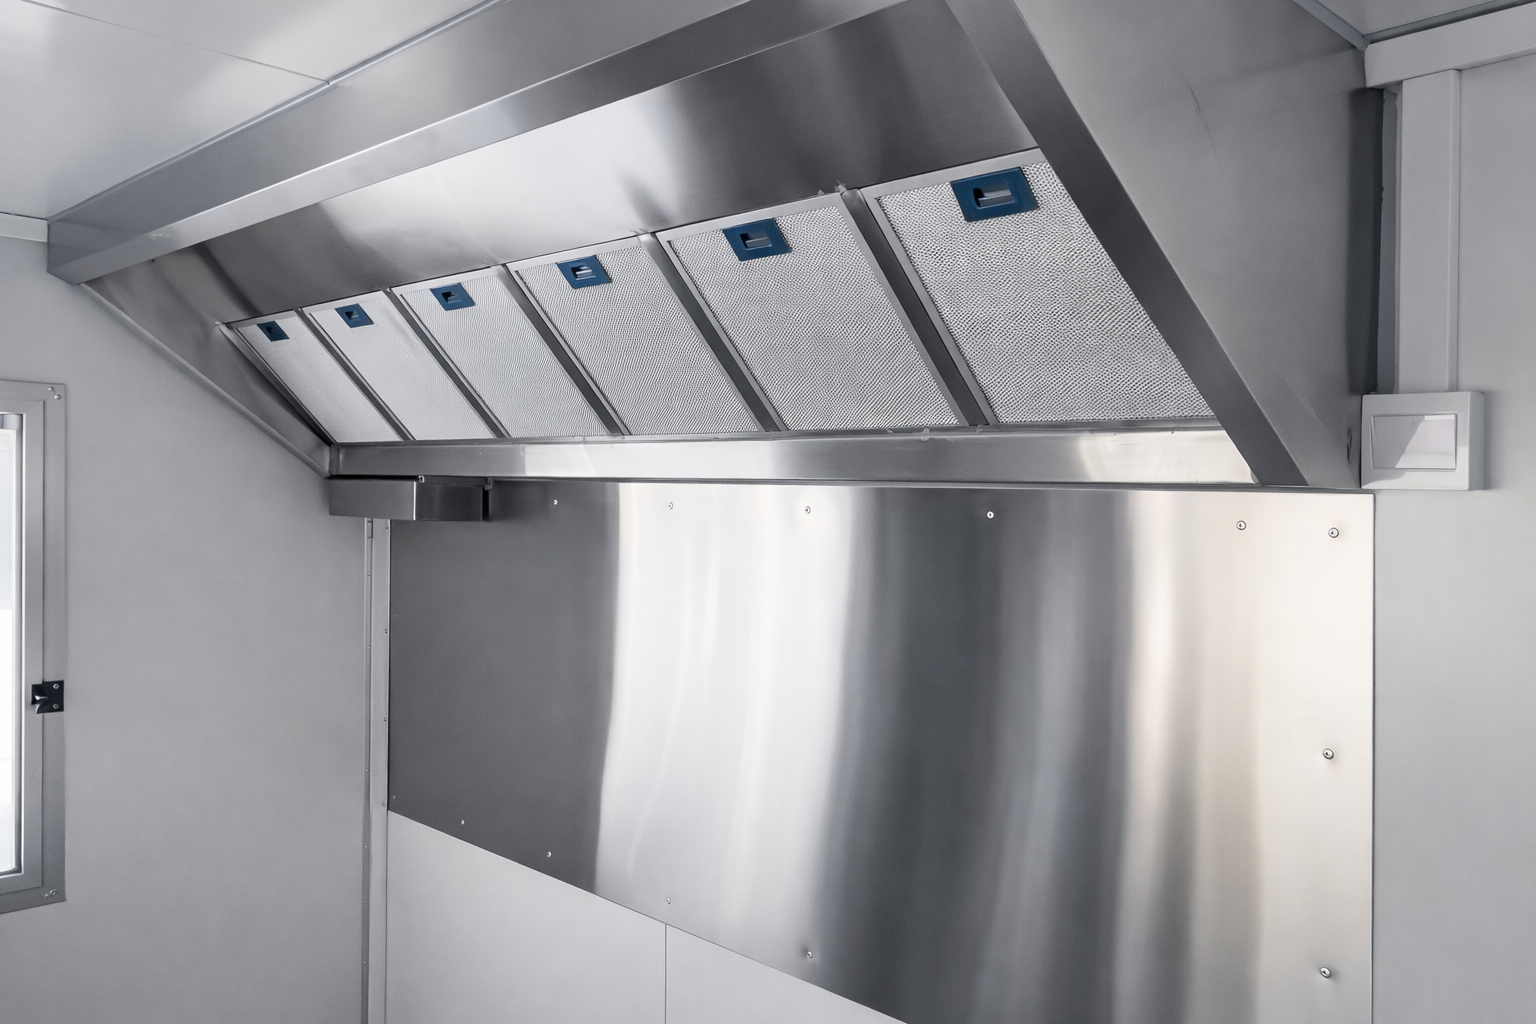
・ Gas/electric BTU & kW: Calculate the BTU (for gas equipment) and kW (for electric equipment) needs of your setup, and add safety margins to avoid overloading your system. Install interlocks (e.g., gas-electric interlocks) to prevent hazards—for example, shutting off gas if the ventilation hood fails, reducing the risk of fire or carbon monoxide buildup.
3) Branding (logo/exterior): Stand Out and Build Recognition
Your trailer’s exterior is your most visible marketing tool— it needs to be eye-catching, readable, and consistent with your brand identity to attract customers and build loyalty.
・ High contrast: Use high-contrast colors for your logo, text, and graphics to ensure readability from a distance (e.g., busy streets, festival crowds). Avoid clutter—too many colors, fonts, or images will make your trailer look chaotic and hard to understand. Stick to 2–3 brand colors and a clean, bold font for key text (e.g., your business name, signature menu items).
・ Lighting layers: Invest in layered lighting to stand out after dark—window lighting to showcase your food, sign lighting to highlight your brand name, and skirt lighting to add visual appeal. LED lighting is ideal, as it’s energy-efficient, long-lasting, and bright enough to be seen in low-light environments. Good lighting not only attracts customers but also makes your trailer feel welcoming and professional.
・ Consistency: Align your trailer’s exterior wrap with your menu boards, staff uniforms, and social media avatars. Consistent branding builds recognition—customers who see your trailer at a festival should instantly recognize your social media posts, and vice versa. This cohesion strengthens your brand identity and makes it easier for customers to remember and recommend your business.
4) Workflow: Engineer for Speed, Safety, and Ergonomics
A well-engineered workflow reduces errors, speeds up service, and keeps your crew safe—critical for a fast-paced mobile food business.
・ Prep/serve/wash zones: Design distinct zones for preparation, service, and cleaning to prevent cross-contamination. The prep zone should be near cold storage, the service zone near the window, and the wash zone (sinks, dishwashers) separate from food areas. This layout ensures that raw ingredients, cooked food, and cleaning supplies don’t mix, keeping your kitchen hygienic and compliant.
・ Ergonomics: Pay attention to counter heights, reach distances, and aisle widths. Counters should be at a comfortable height for prep work (typically 36–38 inches) to reduce strain on your crew’s backs. Frequently used equipment should be within easy reach (18–24 inches), and aisles should be wide enough (at least 30 inches) for two people to pass without bumping. Ergonomic design reduces fatigue and increases productivity.
・ Supplies & waste: Position supplies (napkins, utensils, to-go containers) and waste bins close to the service window. This cuts seconds off each order—crew members don’t have to walk across the trailer to grab supplies or dispose of waste, speeding up service and reducing wait times.
5) How Mingtai Helps
Mingtai takes the guesswork out of food trailer customization, helping you turn your vision into a functional, high-quality asset—without the stress.
・ Free 3D + logo drafts before commitment: Get a clear visual of your trailer’s design with free 3D concept drafts and logo sketches, so you can make adjustments before finalizing your order. This ensures your trailer meets your exact needs and brand vision.
・ Deep customization of size/windows/lighting/equipment/exterior: Every detail is customizable—from trailer size and window placement to lighting, equipment selection, and exterior wrap. Mingtai works with you to tailor every element to your menu, workflow, and brand.
・ Docs: Receive complete documentation, including one-line diagrams for electrical, gas, and water systems, lighting layouts, placard and tyre data, and operation and maintenance (O&M) guides. This documentation simplifies compliance, maintenance, and troubleshooting.
・ 26 tests + 12-month warranty seal quality at the factory: Every trailer undergoes 26 comprehensive factory tests (covering safety, functionality, and compliance) to ensure reliability. Backed by a 12-month warranty, you can launch your business with confidence, knowing your trailer is built to last.